Step 1
Download this image www.sxc.hu and open it up in Photoshop. Duplicate the layer and go to Filter, Sharpen, Sharpen.
Step 2
Copy and paste this image, www.sxc.hu into your document and name the layer Lamp Post.
Go to Image, Adjustments, Desaturate and then select the Magic Wand. With a Tolerance of 70 click on the white around the lamp post. With the white selected click Delete and then set the Layer Style for this layer to Overlay.
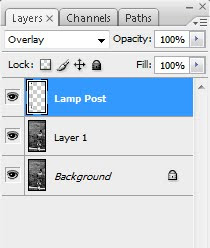
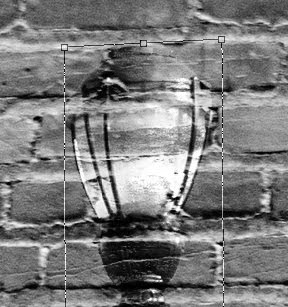
Now go to Edit, Transform, Distort. Drag the top middle anchor point down a bit so the lamp post becomes slightly smaller and then drag the top right anchor point up slightly and then the bottom right anchor point downwards slightly.
Step 3
Copy and paste these images into your document: www.sxc.hu, www.sxc.hu, www.sxc.hu and name the layers, Seagull 1, Seagull 2 and Seagull 3.
Re-size each image so each Seagull is around the size of the top of the lamp post. With each image use whatever extraction technique you find best to delete the sky around the seagulls. Desaturate all the seagulls and then darken them up by going to Levels and dragging the middle slider to the right slightly. Finally for each seagull layer set the Layer Style to Overlay and move each image so it is just to the right of the top of the lamp post.
This is how mine looks. The Seagulls aren't that visible but it just adds that extra little bit to the picture at the moment.
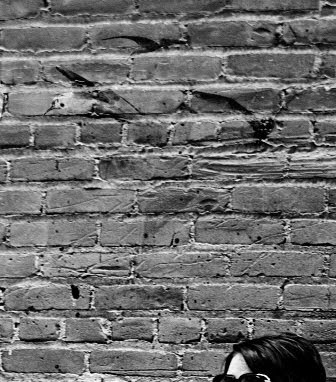
Step 4
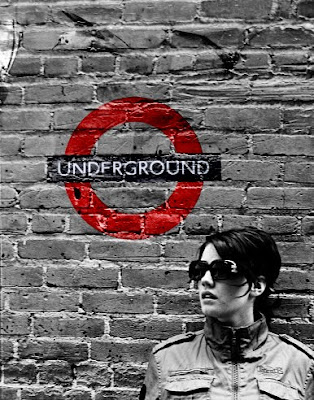
Copy and paste this image into your document www.sxc.hu, name the layer Underground and re-size the image so it's about 1 and a half times as big as the woman's head. Set the Layer Style to Overlay and then go to Image, Adjustments, Levels and drag the middle slider to 0.35.
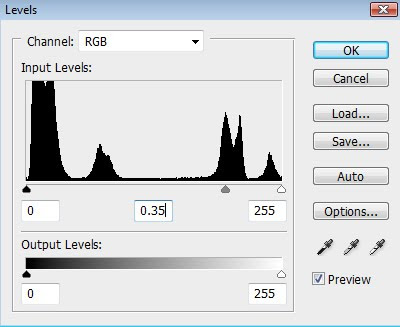
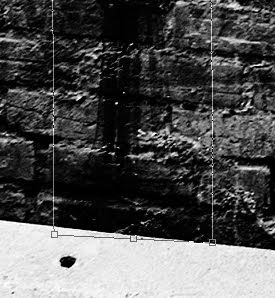
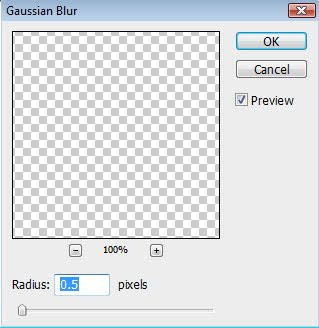
I then warped and distorted this image slightly (like the lamp post) to fit with the direction of the wall. Finally go to Filter, Blur, Blur.
This is how mine looks.
Step 5
Copy and paste this image below the Lamp Post layer and name it Laser Party.
Rotate the image so the bottom sits in line with the step.
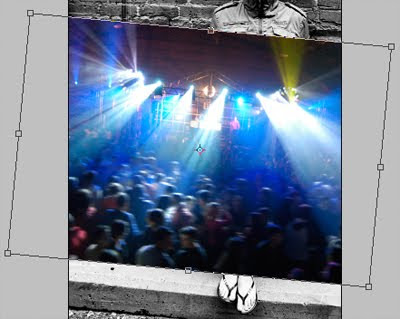
Erase any parts of the image that overlaps onto the woman and then set the opacity of the layer to 30%.
There is a part in the wall that has a hole in it so just erase over this bit as well.
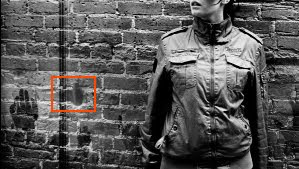
Step 6
Copy and paste this image www.sxc.hu on top of the Laser Party layer and name it Hands.
Repeat the previous step where you placed the image running along the step and then enlarge the image so it fits the width of the page. Just like the previous step erase any parts of the image that overlaps onto the woman and then select a large, soft edged eraser and brush across the top part of the image to remove the hard edge. Finally set the Layer Style for this layer to Overlay.
This is how mine looks so far.
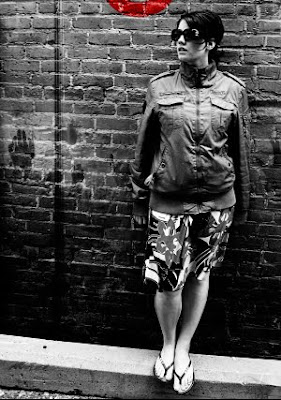
Step 7
Copy and paste this image www.sxc.hu into your document, name it Skull and move the layer just above the Hands layer.
Select the Magic Wand and enter 175 into the Tolerance box.

Click on the white background around the skull and press Delete. Now Desaturate this image, set the Layer Style to Overlay and press Ctrl/Apple and T and re - size the Skull so it is about the size of the person's head and then place it right next to her. Like the other images I warped it slightly to fit the direction of the wall.

Step 8
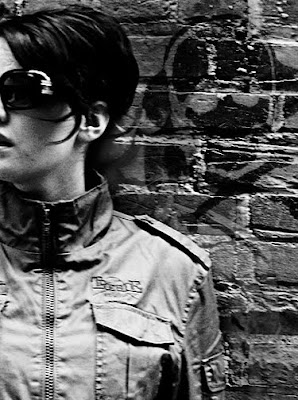
Now go back to Layer 1 (the layer where you duplicated the background at the start), select the Pen Tool and make a selection of the woman and copy and paste her onto a new layer. Name the layer Woman and then move the image to the right and up slightly, set the Layer Style to Overlay and drop the opacity to 30%. Erase over the where the woman was originally so it leaves part of the new image to the right hand side.
Step 9
Now it's time to add some text. As always I like to use the font Avant Garde LT Book but other fonts such as Helvetica, Arial or any others you really like will be just as ok.
Select the Text Tool and drag out a medium sized box. Make sure this layer is on top of all your other layers. Using the colour #a7a7a7 and size 13pt, I typed in -
'The Underground Sound
@ The Freed Club
11pm Till Late
23rd August'.
I then changed the first line to a Bold setting, decreased the size of the rest of the text to 10pt and move the text to this location.

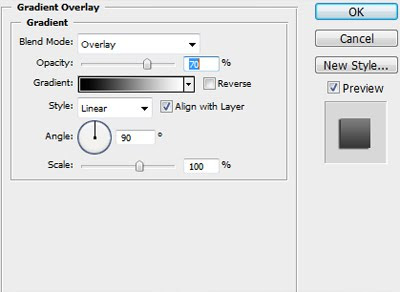
Now go to the Blending Options for this text layer. Tick Drop Shadow and then tick Gradient Overlay and use these settings.
Step 10
Create a new layer under the text layer and name it Gradient. Select the Gradient Tool and then go to the Gradient Editor. Use Black on the left hand side and set the opacity on the right hand side to 0%. Click OK and then tick the Reverse box and select the Radial Gradient at the top of the screen.

From the middle of your page drag upwards and stop when your mouse gets to about the orange line shown in the next picture.
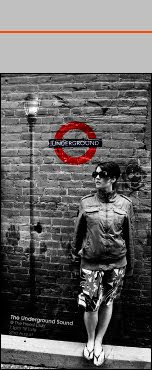
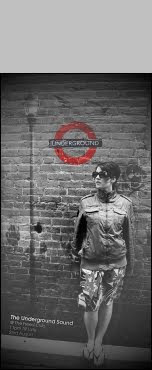
Change the Layer Style to Overlay.
Step 11
Copy and paste this texture into your document www.sxc.hu and place the layer on top of everything. Rotate the image 90 degrees clockwise and simply stretch it so it fits the size of your document. Now change the Layer Style to Overlay and set the opacity to 25%.
And We're Done!
That's the tutorial finished! I hope you've enjoyed it and learnt something useful.
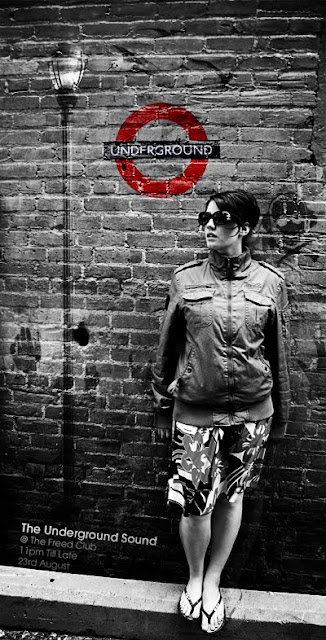
Create a Stylish Club Poster Tutorial: Final Result



No comments:
Post a Comment