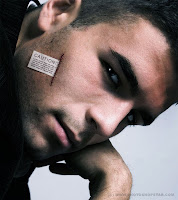
Let's start by finding the picture of beautiful girl with hairdressing. I went to Google Images and looked up the picture, you can feel free to download my picture from here. Open up the picture and desaturate it in the beginning with Image > Adjustments > Desaturate or press Ctrl+Shift+U.

After that increase the contrast with Image > Adjustments > Levels:

See the difference now?

Move to the next step. Create a new layer and fill it with white color. After that change layer opacity for this layer to 30%. Then select the Eraser Tool and a soft round brush to make a little clear work on the face area.

Merge two of these layers in one and start to make drawing effect. Get out the Pen Tool (you need to make sure that you're working with Paths instead of Shape Layers). Draw out your line using paths:

After that select the Brush Tool and set up with the following settings and set foreground color as black:

Create new layer and then right-click and select Stroke Path.

A little dialog box will appear as in the screenshot. Choose Brush and make sure there is a tick next to Simulate Pressure. This is important as it will give your curve tapered ends which will make it rock!

The picture use to look as mine:

Now the line is hardly noticeable, but don't worry about. Next right click again and select Delete Path. Try to make more lines in the same way to outline the body and hair contours.

Now, move to the background layer with woman's photo and select the Brush Tool (use soft brush about 100 px and set brush opacity to 30% up). Sketched the silhouette with white color a little bit.

After that use the Sharpen Tool to make the contours more distinct.

I finished off with this tutorial by merging all of my layers together. Please feel free to experiment, get creative, use your own settings. I hope you enjoyed this tutorial.


No comments:
Post a Comment