
Editor's Pick in Photoshop Tutorials
A few-step technique to get a realistic drawing that even seems to have that odour of a paint. A great method to create your own gallery while improving your Photoshop skills.
Step 1
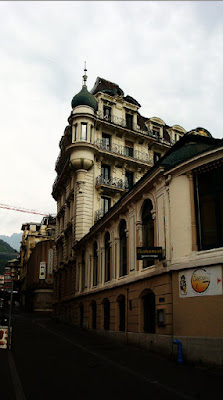
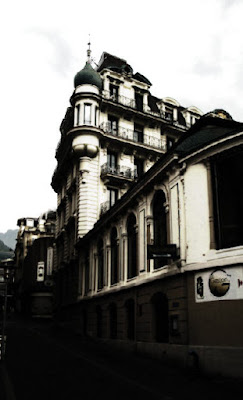
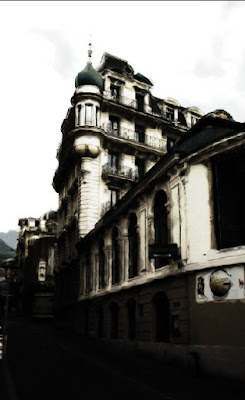
1. Load a photo of you choice into photoshop. You can use the above "before" image if you want to follow exactly what's in this tutorial.
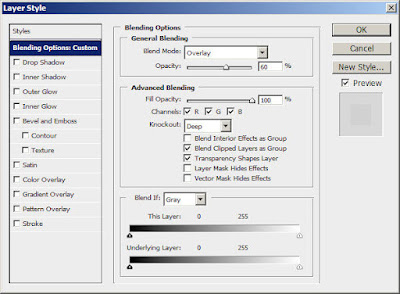
Once you load your photo, duplicate the background layer once, and change the blending option of the duplicated layer to "overlay". The way it add a bit more colour contrast to the photo and we will be able to play with this layer further in this tutorial.
The effect will look like this:
Step 2
Still on the "Background Copy" layer, hit Ctrl + M to bring up the Curve Tool, apply the following settings:
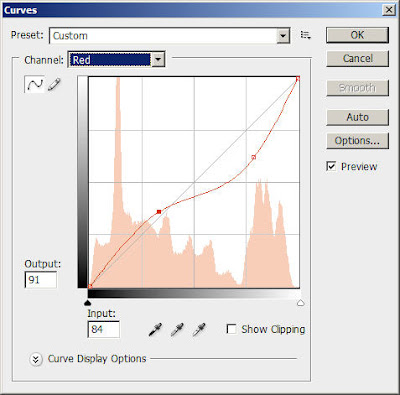
The result so far:
Step 3
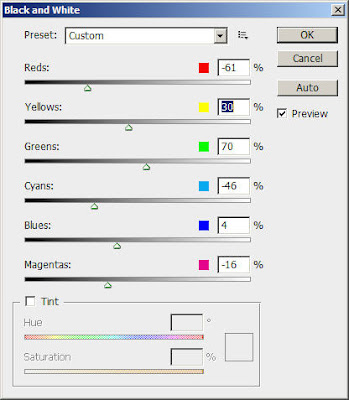
Duplicate the "Background Copy" layer once, keep the layer blending option of the duplicated layer as "Overlay", then hit Ctrl+Alt+Shift+B to bring up the Black and White adjustment tool and use the following settings:
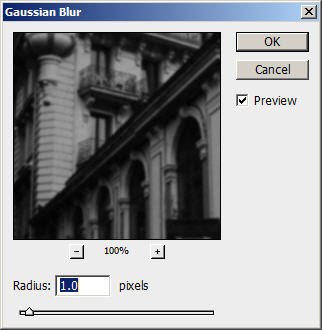
After applying Black and White Adjsutment, duplicate this layer once and apply Gaussian Blur filter on it. This is to give some extra softness to the image.
See below for detail settings:
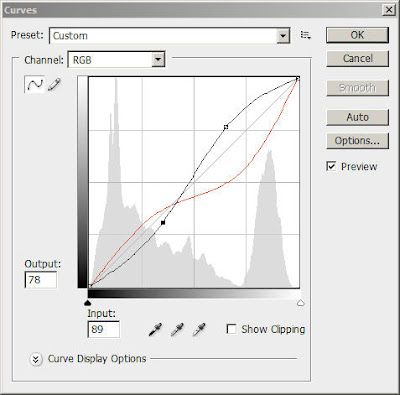
After applying Gaussian Blur, hit Ctrl + M and bring up the curve tool again and apply the following setting:

Here is the effect so far:
Step 4
To make the watercolour effect more realistic, we can use the Glass filter on image. Duplicate the "background 3″ layer once, go to Filter > Distort > Glass and apply the following settings on the duplicated layer:
Optional: We can also adjust the layer opacity of this layer a bit:
Here is the result so far:

Step 5
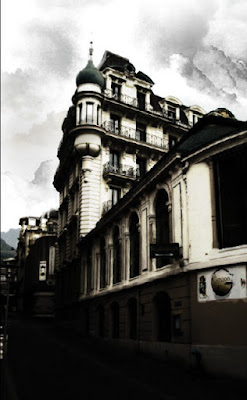
Ok now you may think the sky looks a bit empty, no worries, we can grab some fantastic cloud brushsets on Qbrush.com. Create a new layer and name it "cloud", paint some cloud using the brushes you donwloaded over the top.
Here is the result so far:
Ok, that's it for this tutorial! You can further edit the image by adding some colour overlay or some lighting effects. That's totally up to you.
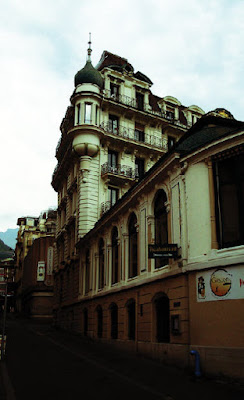
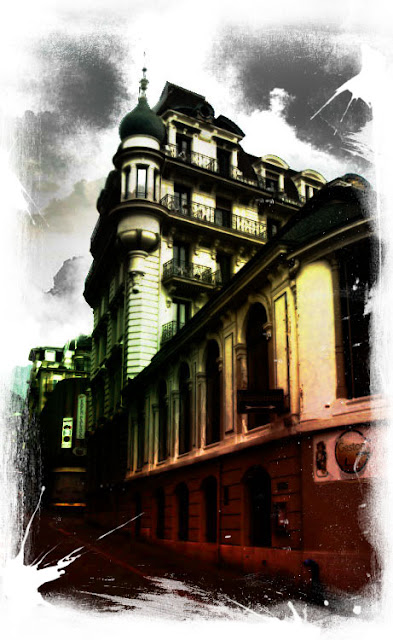
Here is my final image of this tutorial:
Easily Transform Your Photo into a Watercolour Painting in Photoshop Tutorial:
Final Result
Hope you enjoy this tutorial!


No comments:
Post a Comment